How to repair external render with Blue Circle Cement
When repairing external render using Blue Circle Cement, we recommend the following steps. This advice is designed to offer a general guide to help you create a strong and durable base for your patio.
2+ hours
Medium
Printer-friendly version
Safe working
Working safely on any project is the most important thing. Here are a few tips to keep you safe.
Ensure you have the 'hands-on' skills to take on the project
Always read the label on the product packaging before starting
Always follow the product safety guidance before starting
Ensure you have the correct protective clothing for the job
Always be visible in your workspace
Materials and tools required for this job:
Sharp sand
Water
Trowel
Mixing board
Bucket
Stiff brush
Sponge
Plastic sheeting
Safety gear
Online guide: How to repair external render
Remember to follow safety guidelines and wear appropriate protective gear, including gloves and safety glasses, when working with cement. Additionally, always check and follow the specific instructions provided by the Blue Circle cement manufacturer. Using our guidance is your own responsibility.
Step 1
Prepare the Area
Clean the area by removing
loose render and dust using a stiff brush.
Dampen the area with water.
Step 2
Mix the Mortar
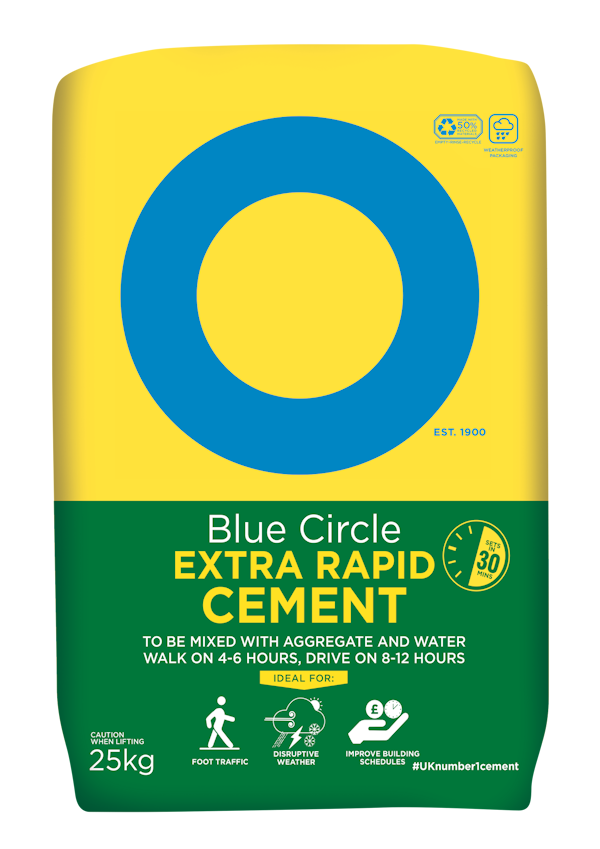
Mix a ratio of one part Blue
Circle Extra Rapid Cement and five parts sharp
sand with water to achieve a stiff consistency
Step 3
Make the Repair
Use the trowel to place the
mortar well into the repair area to fill the void and
match the surrounding surface.
Clean your tools promptly after finishing to prevent any material from hardening on them.
Step 4
Curing
Allow the repaired render to dry
completely for at least 7 days before painting.