How to lay a path with Blue Circle Cement
When laying a path using Blue Circle Cement, we recommend the following steps. This advice is designed to offer a general guide to help you create a strong and durable base for your patio.
2+ hours
Medium
Printer-friendly version
Safe working
Working safely on any project is the most important thing. Here are a few tips to keep you safe.
Ensure you have the 'hands-on' skills to take on the project
Always read the label on the product packaging before starting
Always follow the product safety guidance before starting
Ensure you have the correct protective clothing for the job
Always be visible in your workspace
Materials and tools required for this job:
Gravel or hardcore
Wooden boards
Wooden stakes
Mallet
Plastic sheeting
String
Spirit level
Shovel
Wheelbarrow
Tamper
Safety gear
Online guide: How to lay a path
Remember to follow safety guidelines and wear appropriate protective gear, including gloves and safety glasses, when working with cement. Additionally, always check and follow the specific instructions provided by the Blue Circle cement manufacturer. Using our guidance is your own responsibility.
Step 1
Plan and Design
Measure and mark the path
area, planning the layout and design of the path.
Step 2
Prepare the Area
Dig out the marked path
area to a depth of about 6 inches to allow for a
hardcore foundation layer and the concrete path
upper layer.
Step 3
Construct formwork
Use wooden boards to
create shuttering to contain the mixed concrete,
ensuring it is level.
Step 4
Create a solid foundation
Pour a layer of
hardcore or gravel into the excavated area. Level
and compact the gravel foundation layer using
the tamper.
Step 5
Mixing and Laying the Concrete
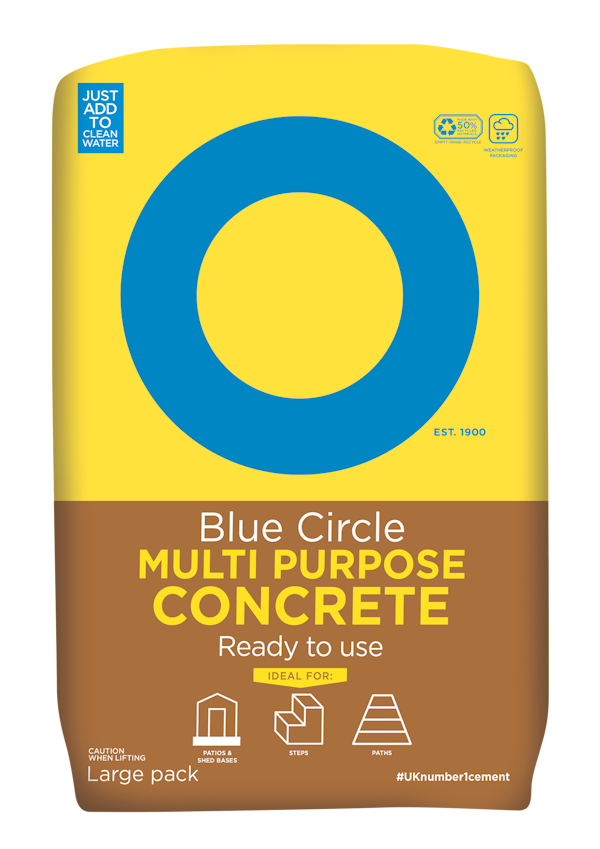
Following the instructions on the bag, mix the ready-to-use Blue Circle Multi-Purpose Concrete. Place the mixed concrete onto the gravel foundation, spreading it evenly with a shovel and level with a straight edge.
Clean your tools promptly after finishing to prevent any material from hardening on them.
Step 6
Curing the Path
Protect the concrete path from
rain and frost and allow to cure according to the
manufacturer’s recommendations before use.