How to build a fence with Blue Circle Cement
When building a fence using Blue Circle Cement, we recommend the following steps. This advice is designed to offer a general guide to help you create a strong and durable base for your patio.
2+ hours
Medium
Printer-friendly version
Safe working
Working safely on any project is the most important thing. Here are a few tips to keep you safe.
Ensure you have the 'hands-on' skills to take on the project
Always read the label on the product packaging before starting
Always follow the product safety guidance before starting
Ensure you have the correct protective clothing for the job
Always be visible in your workspace
Materials and tools required for this job:
Tape measure
Fence posts
Fencing panels
Safety gear
Online guide: How to build a fence
Remember to follow safety guidelines and wear appropriate protective gear, including gloves and safety glasses, when working with cement. Additionally, always check and follow the specific instructions provided by the Blue Circle cement manufacturer. Using our guidance is your own responsibility.
Step 1
Preparation
Carefully mark out the locations of each post to be installed for the fence
Step 2
Dig the first Hole
Dig the hole for the first post to at least one third of the height of the post being used and about 3 to 4 times as wide.
Step 3
Check the Position
Insert the post in the hole to double check the hole depth and width to make sure both are correct. Remove the post.
Step 4
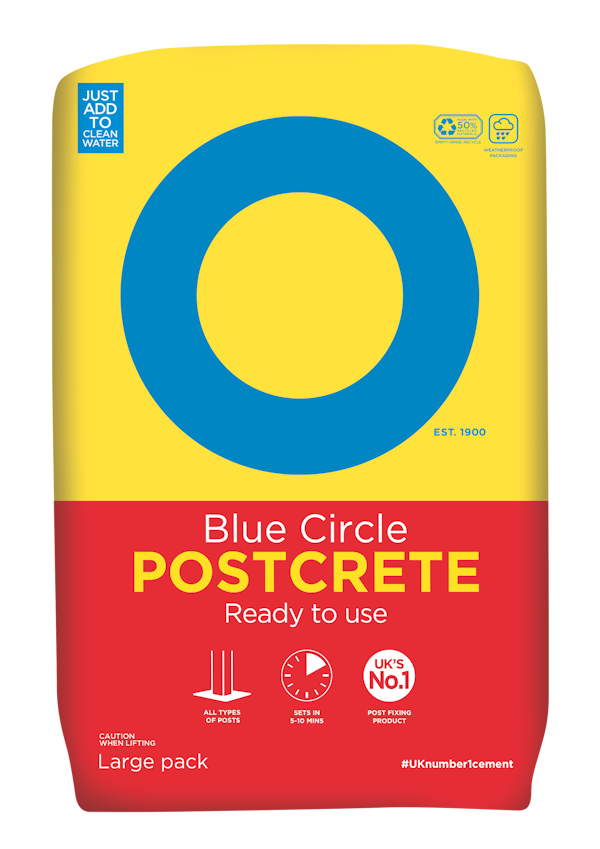
Installing the Postcrete
Pour water into the hole until it is half full. Place the post in the centre of the hole and pour in one bag of Blue Circle Postcrete all around it until the powder reaches the top of the water surface. Hold the post firmly in place and check alignment with the sprit level as curing starts within 1-2 minutes. The post will be fully set within 5-10 minutes.
Step 5
Fixing the panels
Once the first post has set, recheck the measurements and position for the next post hole using a fence panel. Repeat the installation process above for fixing the next and subsequent posts. Clean your tools promptly after finishing to prevent any material from hardening on them.
Step 6
Finishing
Once post installations are complete, fill the holes back to surface level with soil and turf as required